On The Heart and Mind:
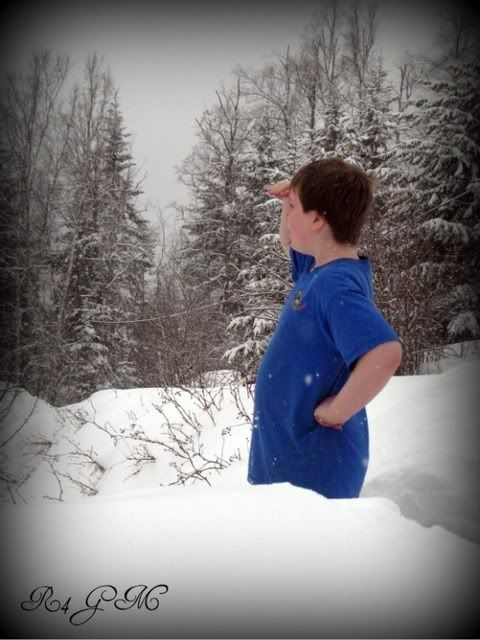
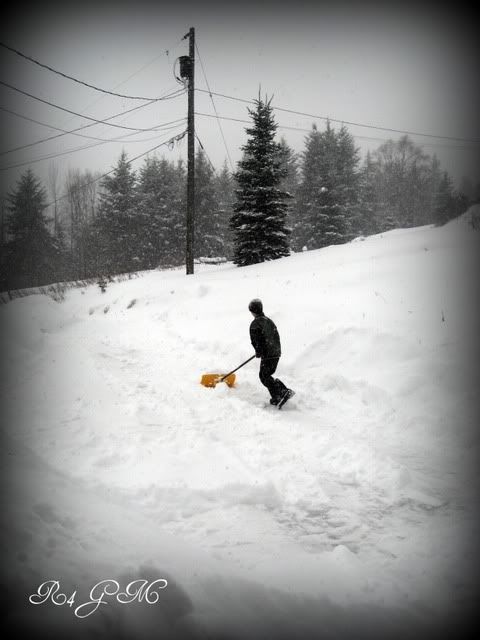
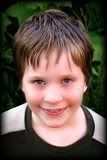
I am sitting and reflecting what a big year this has been for us. My first ds Philip graduated from our little homeschool and got married to the sweetest lady I could ever ask to be a daughter in love. Luke is growing up and is trying on different ideas of what he might want to do in his future. Plus I see him growing into a independent thinker and has good work hard ethics. Noah is getting his feet wet with starting to really learn what it means to work hard for some money. ( He is on snow shoveling duty this winter. *grin*) And then there is Nic who is changing before our eyes. One minute he is a grump a lump and then the next minute his is as sweet as honey.
On a side note....
I have to say that I have been looking at where I am at. And I have been toying with the idea of changing a bit in my blogging. I loved Weekly Wrap Up but I am feeling burnt out on hosting meme's. I think I need to step back from this roll and just enjoy blogging where the spirit leads me. I will pass the baton on if someone wants to and if not that is okay too. I have really enjoyed being here at blogspot and feel very blessed being here. Thank you so much for making me feel at home here. ((HUGS))
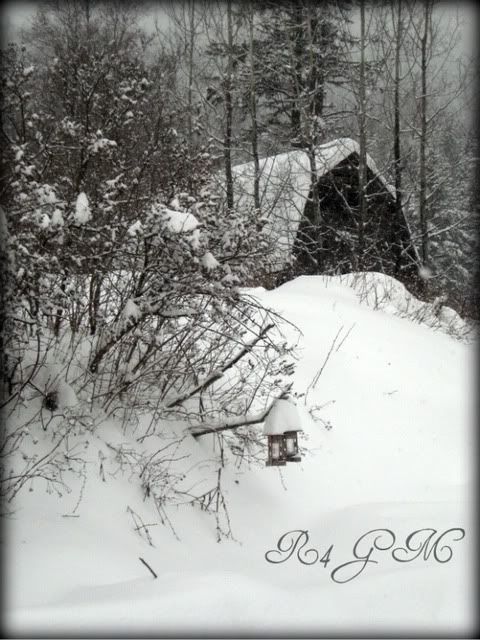
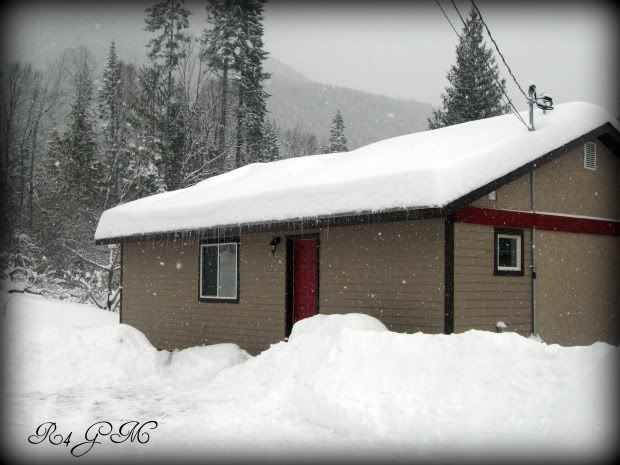
On The Home Front:
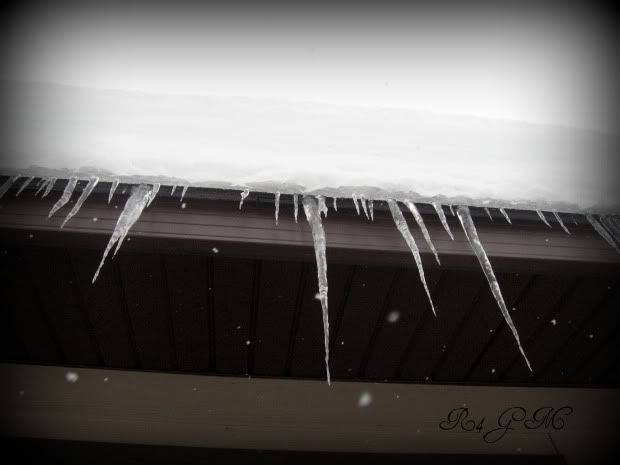
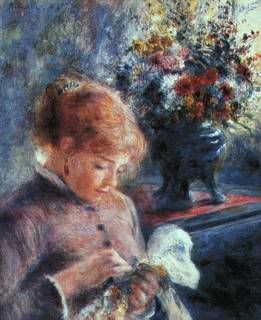
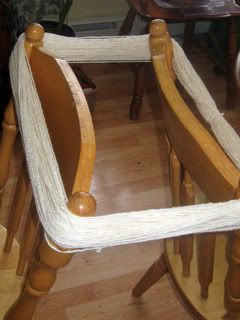
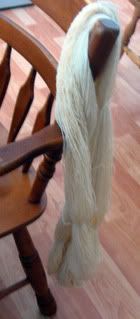
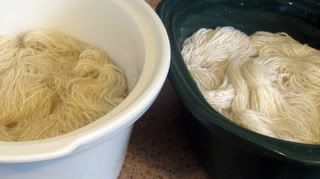
We have really enjoyed our winter break. Lots of sleeping in, having fun together... sleding, playing games, baking, and having friends and family over. Also, I have gotten a lot of stitching in too. *grin*
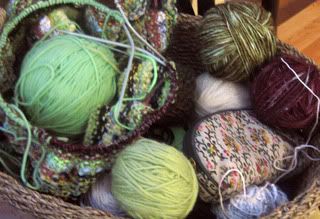
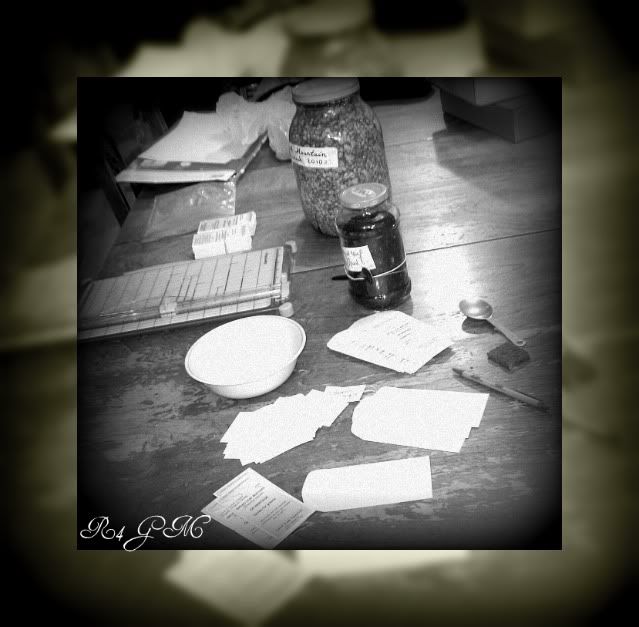
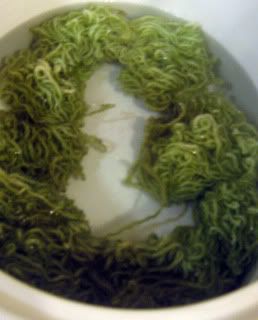
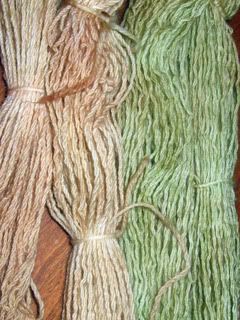
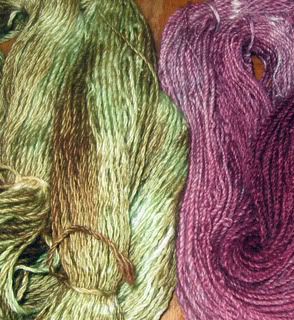
My Craft Corner:
Go HERE for my latest update. [0=
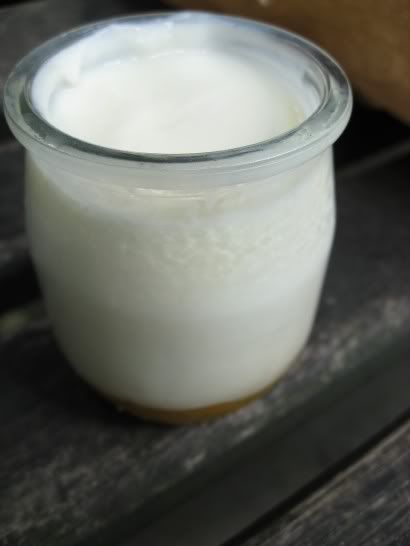
In The Kitchen:
We got the gingerbread and shortbread made. But I still want to make some after dinner mints and truffles. That may have to be a future Farm Girls @ Heart post. ((light bulb going on))
On The Healthy Side:
I got a exercise ball to strengthen the core and back muscles and I also got a beginners Pilate's video/book set at Sally Ann's. I hope to start that this coming week.
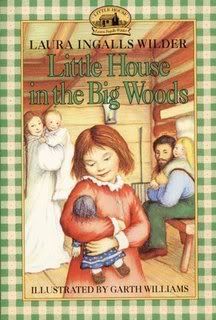
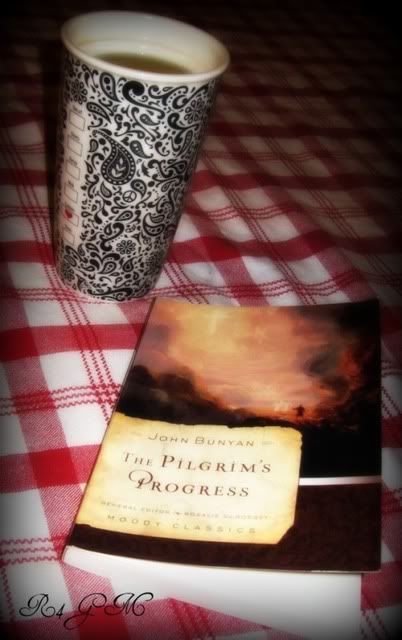
On My Night Stand:
- " The Prayer That Changes Everything...The Hidden Power of Praising" by Stormie Ortaman
- " Those Who Trust in the Lord Will Not Be Disappointed" by Peggy Ruth
 Read more...


 .
.
 .
.